p4-budget
EECS 285 Android Studio Setup and First App
First App Due Wednesday, 17 Nov 2021, 8pm
This tutorial will help walk you through setting up your computer with Android Studio for Project 4.
Table of Contents
System Requirements
The system requirements for Android Studio are listed at the bottom of the download page. If your computer does not meet the minimum requirements to run Android Studio and you’re located near campus, please see the EECS Departmental Computing Organization in 2917 BBB for a loaner computer.
Android Emulator
In order to run the Android emulator on Windows or Linux, your system must have hardware virtualization enabled. Mac computers usually already meet these requirements.
When launching the Android Emulator, if you see an error about hardware virtualization, you must enable it in the system BIOS for your computer. Refer to the following:
If your computer is able to run Android Studio, but not the emulator, you can use a physical Android Device instead of the emulator.
Download and Install
First, download and install Android Studio. Under “Android Studio package”, click on the link for your platform. (If you are on Windows, the most likely one you want is “Windows (64-bit) Recommended”.) Accept the agreement, download, and run the installer. (On Mac, drag the “Android Studio.app” icon to the “Applications” icon.)
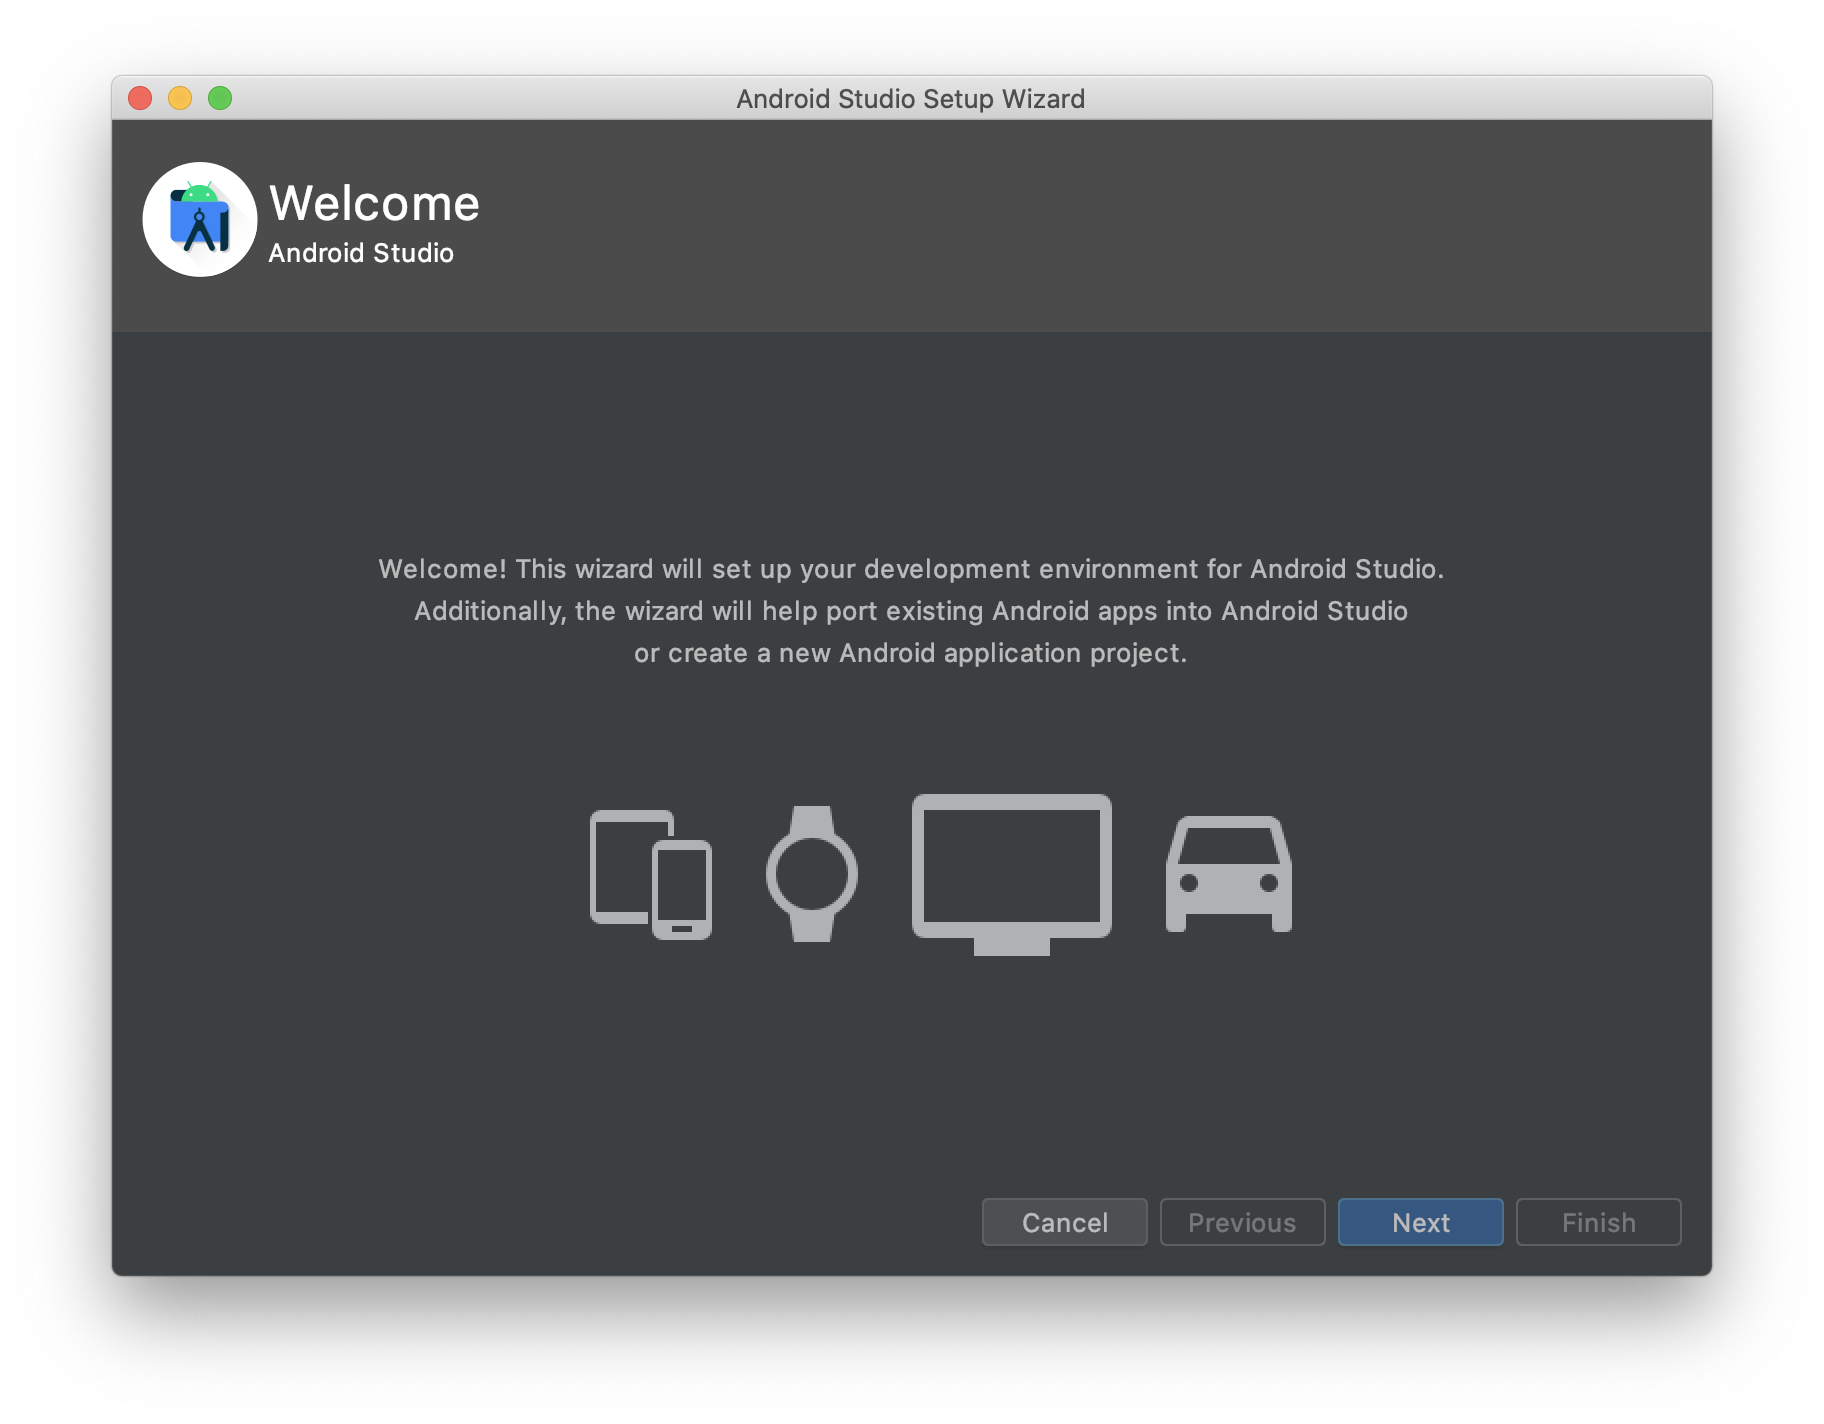
You should see the following startup screen when launching Android Studio for the first time. Click “Next”.
At “Install Type”, select “Standard” and click “Next”.

At “Select UI Theme”, pick a theme and click “Next”.
At “Verify Settings”, click “Finish”.
Complete the First App Tutorial
Follow the tutorial to build your first app. Make sure to follow the entire tutorial until you complete the ‘Start another activity’ section. Please use the Java examples, not Kotlin.
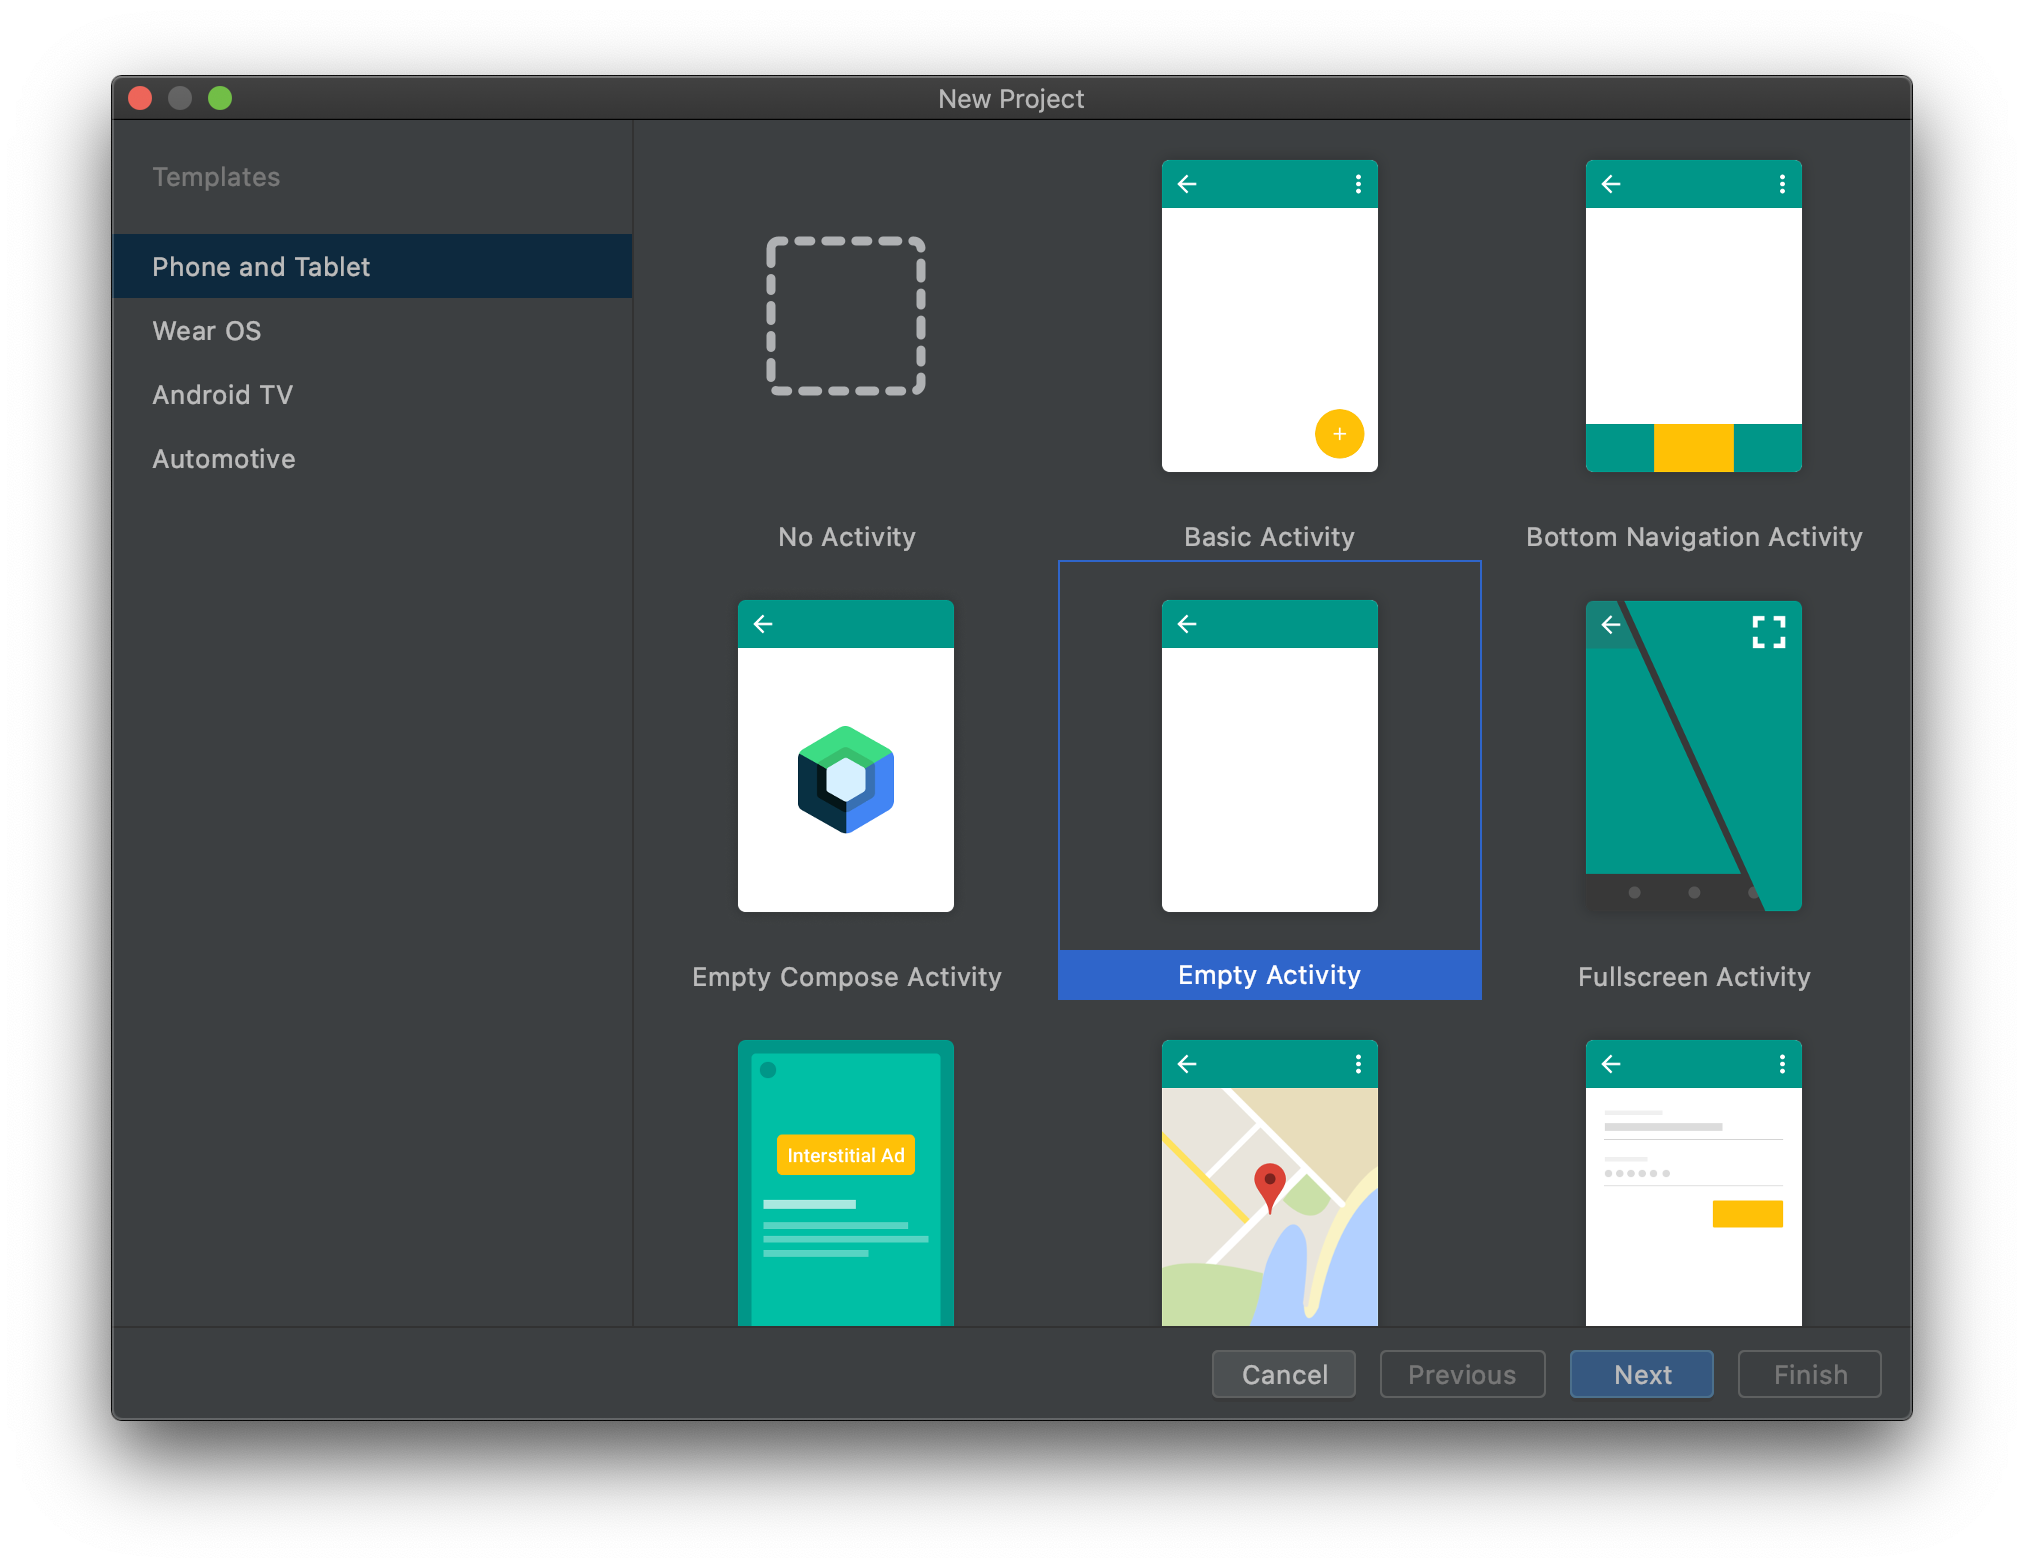
At the startup screen, click “Create New Project”. Click “Empty Activity” and click “Finish”.
When setting up your project, set your application name to be
<uniqname> First App, where <uniqname> is your uniqname. If you
are working in a partnership, then use both of your unqinames, in
alphabetical order, separated by an underscore. For example, if I am
working alone, I would use the following name:

If I am working with akamil, then I would use the following:
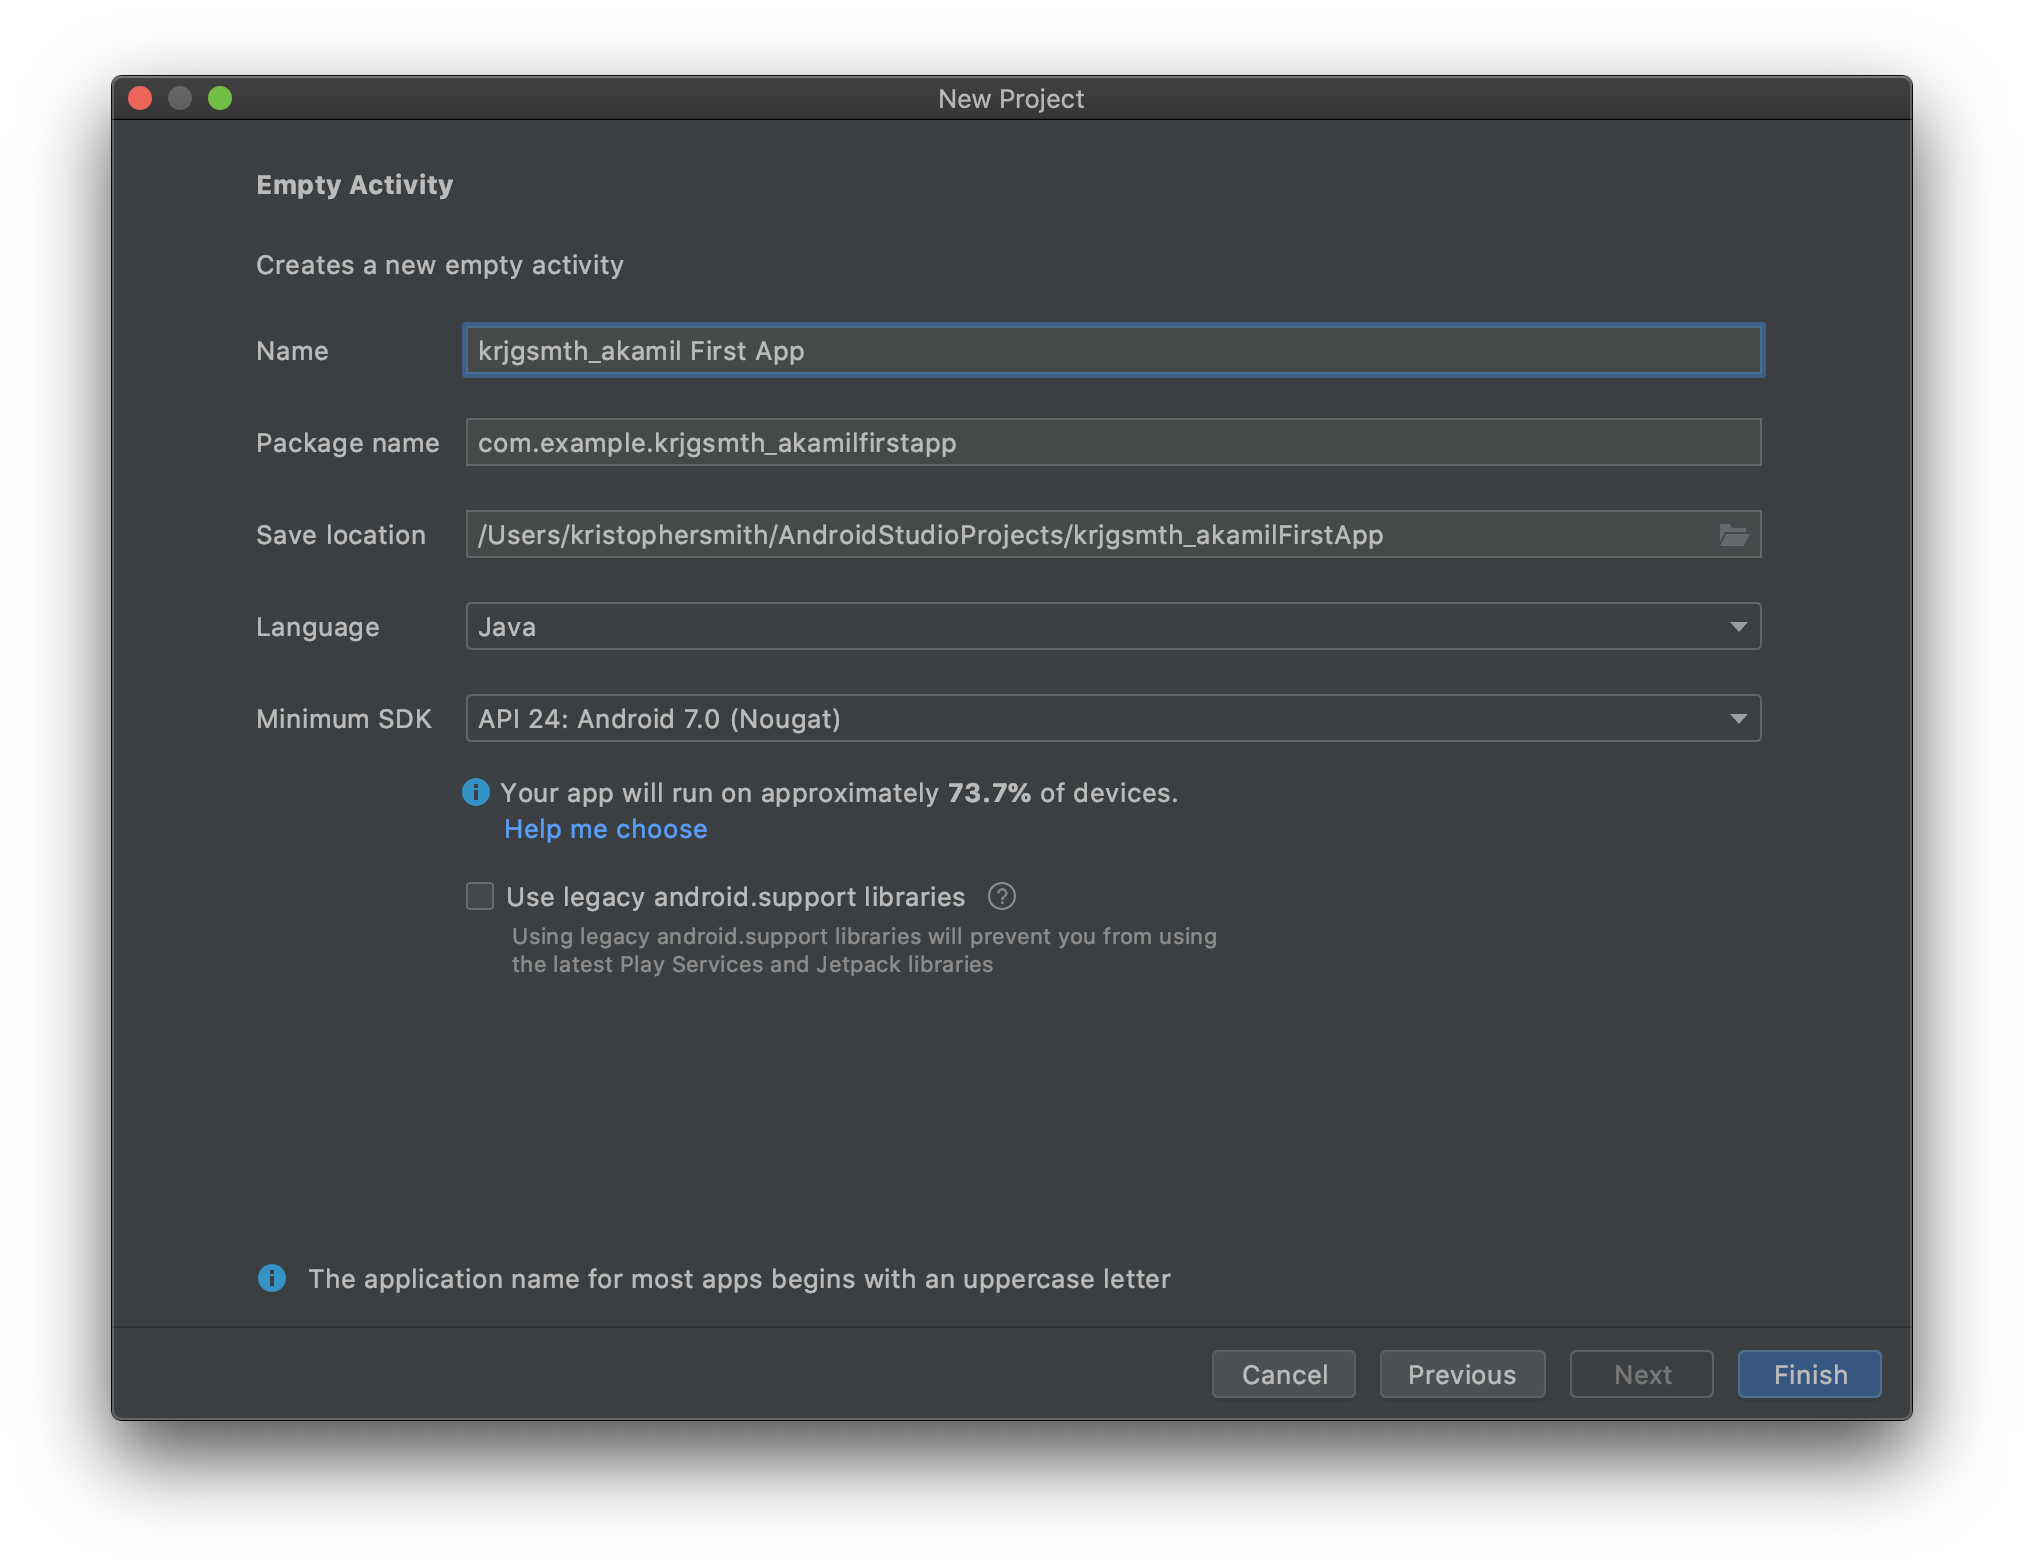
Ignore the message at the bottom about application names beginning with an uppercase letter.
For the package name, use eecs285.proj4.<uniqname(s)>firstapp.
Select API 24 for the minimum API level. You must use API 27 or lower. We recommend API 24 since it gives you more support for Java 8 features than earlier versions:
After your project is created, you need to configure it to support Java 8. Select “File” in the application menu and then “Project Structure”. It may take a little for “Project Structure” to show up if there is an ongoing download. Click on “Modules” on the left, then “app” in the pane that appears. Then set both “Source Compatibility” and “Target Compatibility” to $JavaVersion.VERSION_1_8. You may also use the drop down menu to set this:
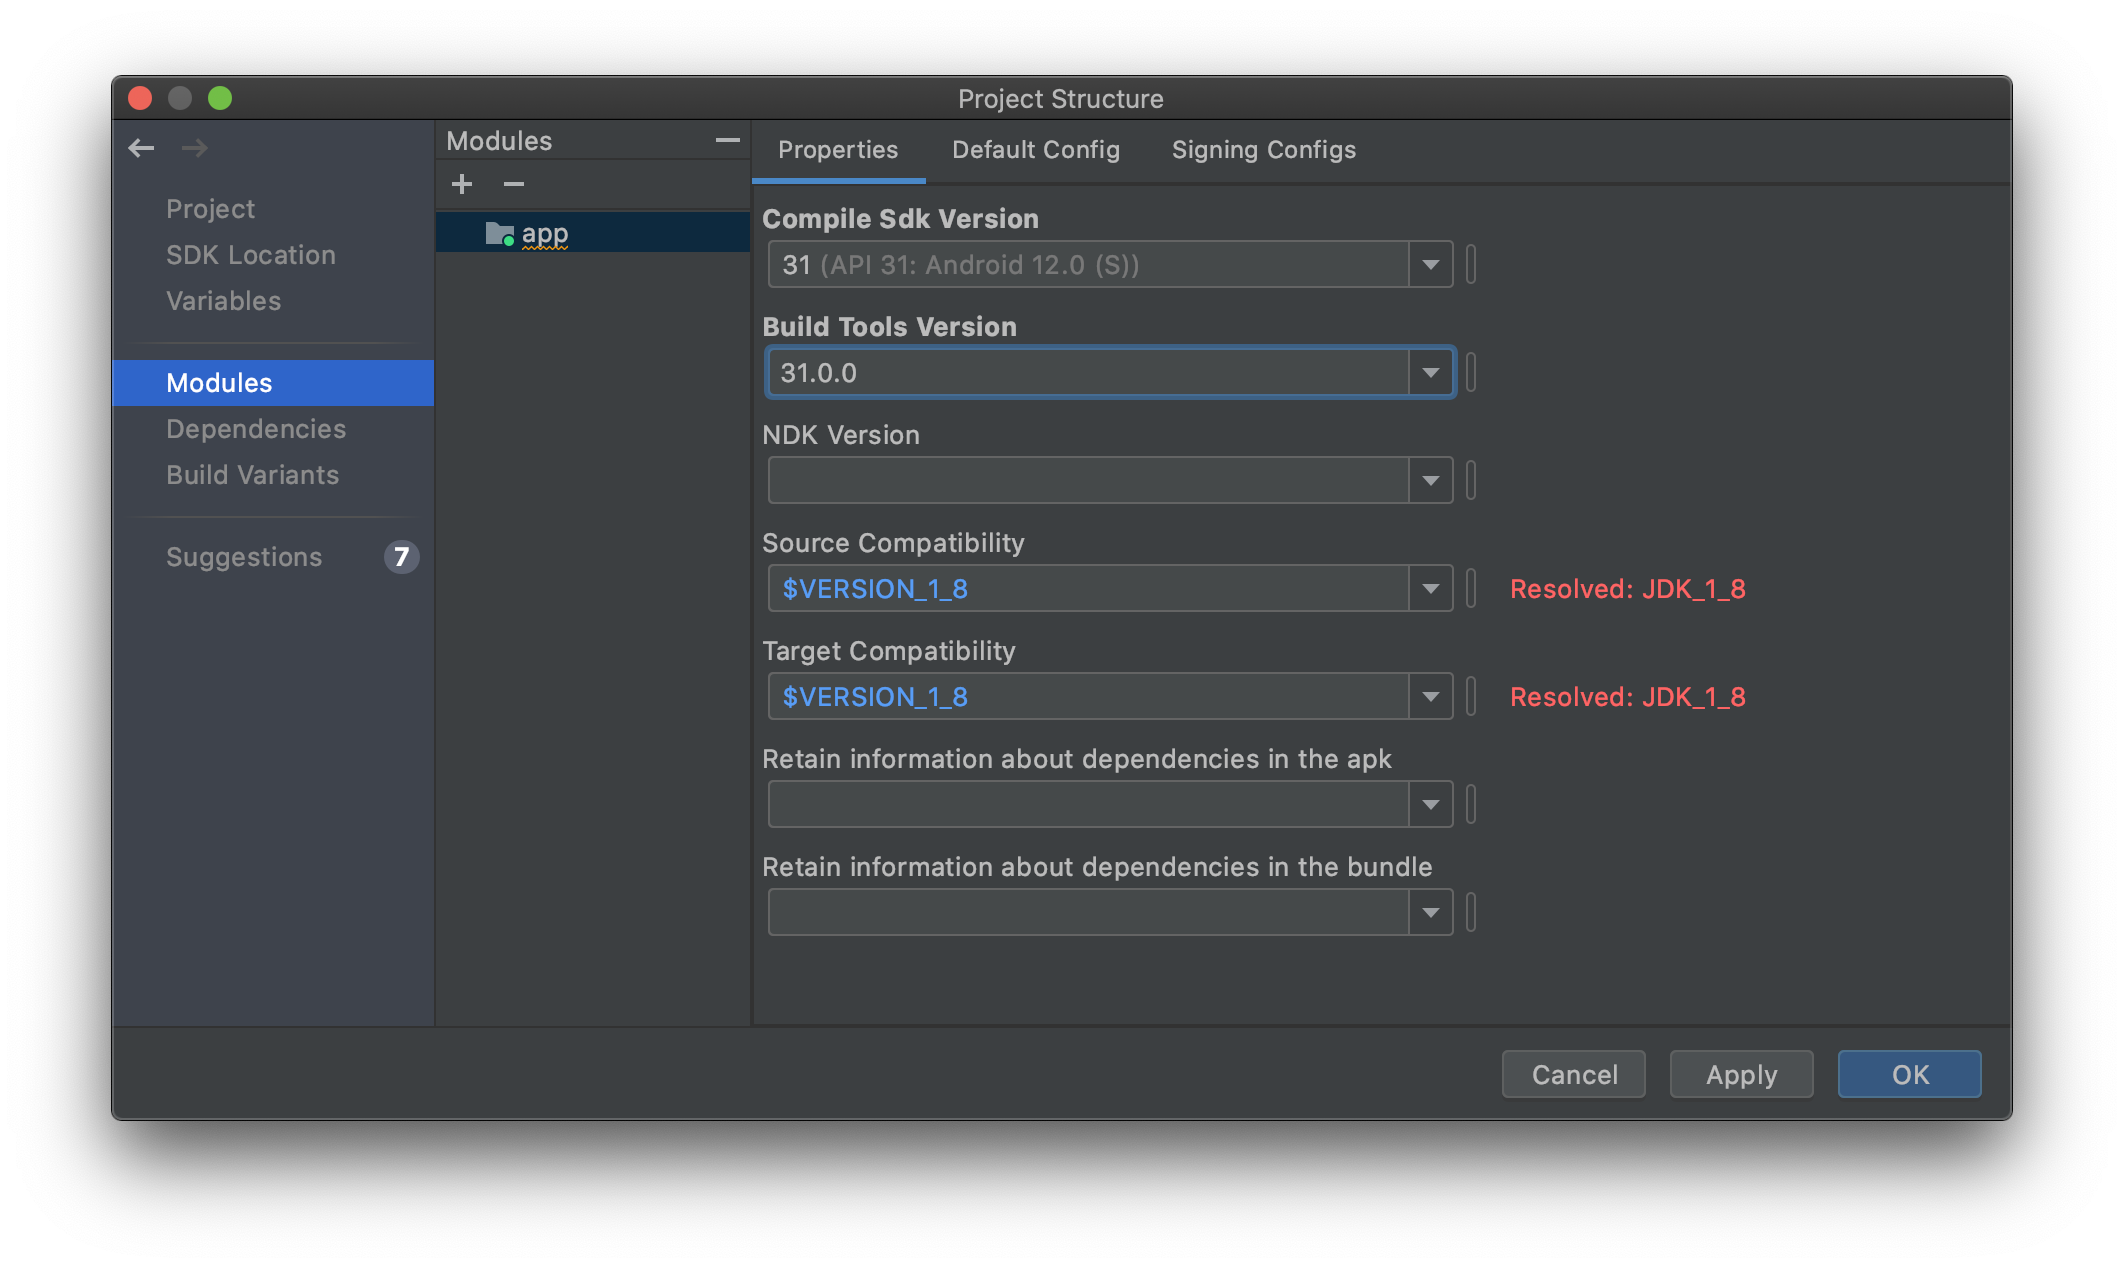
You will also see that “Compile SDK Version” is set to a newer version than the target API you selected – this is fine, and you should not change it.
Complete the entire tutorial. At the end, you will have an app with two activities, the first of which has a text field and a button, and the second of which displays the text entered in the first activity.
Submit
Submit the following files to the autograder.
src.zip, an archive of the sources for your project (theapp/srcdirectory for an Android Studio project)build.gradlefrom theappdirectory of your project (NOT thebuild.gradlethat is one level up from theappdirectory)
Refer to the guide on preparing files for submission for how to obtain the required files.
As per course policy, we will grade your last submission to the autograder. It is your responsibility to ensure that your last submission is complete. Your app must compile correctly on the autograder for us to be able to grade it.
The first app is worth 10% of your grade for Project 4.
Working with Git
If you are using Git for version control, we recommend using this
.gitignore file, which excludes unnecessary files
(e.g. IDE settings, build outputs, etc.). Rename the file to
.gitignore and place it in the top-level directory for your project.
As always, make sure that your Git repository is private, as required by course policy.